Monday, November 22, 2010

Poplar Parlor Table


Poplar parlor table is wobbly, has a broken leg, trim moulding missing, and a broken bottom shelf.


Someone previously repaired this table with blocks of particle board and blue electric tape.


Chipped out edges on bottom shelf.


New poplar board glued on, and profile outlined for cutting.


The leg on the right was broken, and it has been repaired.


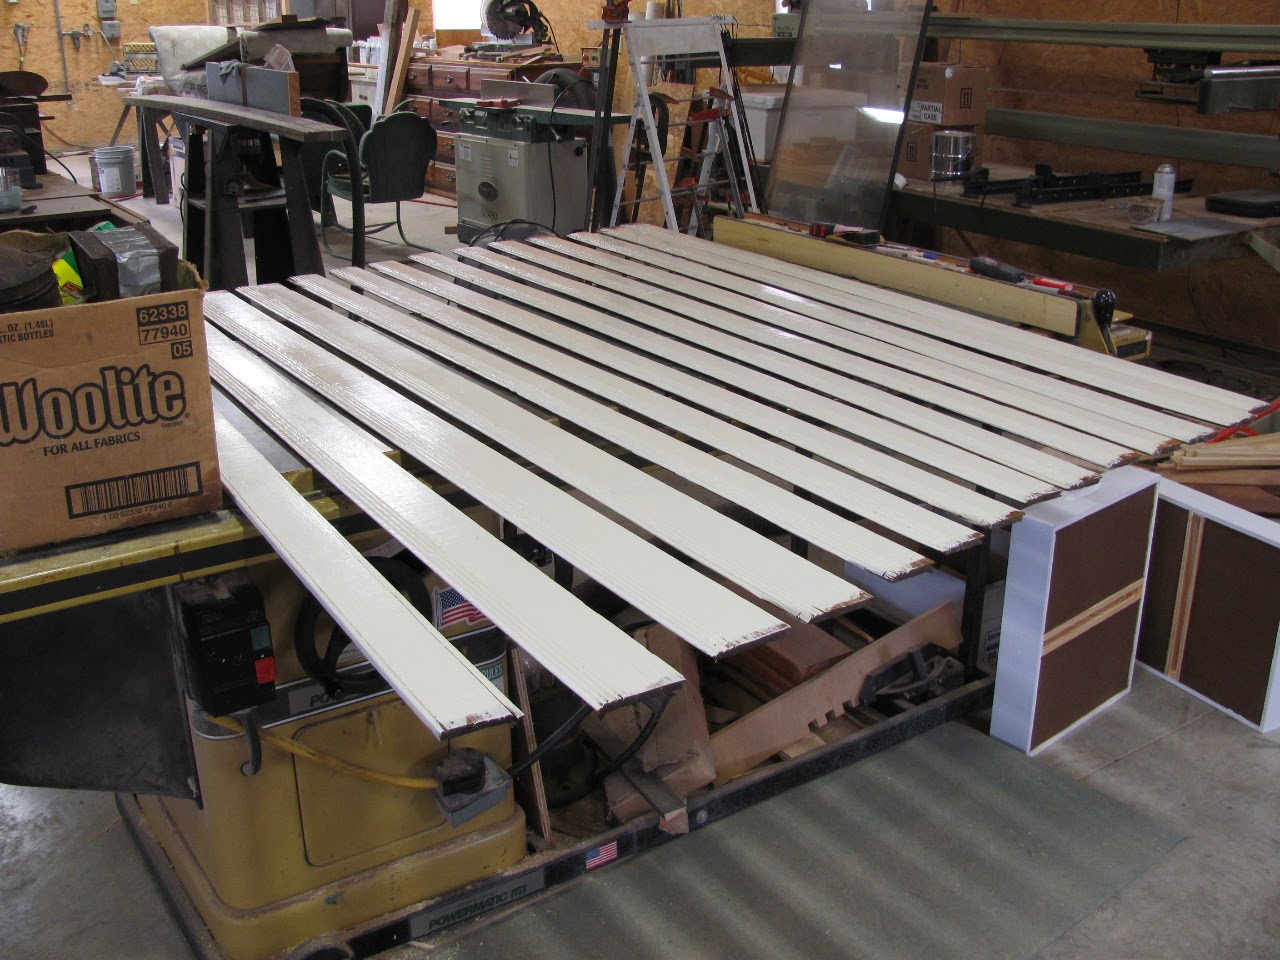
The repaired top has been finished and ready for assembly.


Legs are set in cherry blocks. Small yellow level is used to make sure the bottom shelf will be parallel with the top.


Repairs are complete. The table is solid and stable.

Wicker Plant Stand


Loose parts and twisted out of shape.


Repairs have been made, and the piece clamped flush to the top surface of the table saw.

Repairs complete and standing level.


Wednesday, September 15, 2010

Table leg repair


One repaired leg has been put on the pedestal.

Repairing the legs.


2 legs,,,4 pieces.


I am having to repair work from the butcher of wood. You can see a previous repair of one leg with the crack line.(left)

Retail Repairs


The good stuff...MADE IN MALAYSIA I see new pieces like this and think back to the days of being in the furniture factories in the USA. Quality is GONE.


Repair and ready to go.

Child's Cane Chair

Metal frame chair with single direction caning.


Wednesday, September 8, 2010

Antique Tall Oak Panel Bed > Queen


New legs were milled and attached to the existing legs using biscuits, recessed wood screws, and West Systems Epoxy.


New 82 inch long bed rails are 4/4 thick. Thankful to have a 12 foot ceiling when using the table saw to cut mortises for new hook-in hardware.


The bed was set up to check for proper measurements and adjustments.


Yes, the wood was stained yellow to gain the base color needed.


The first glaze step with sealer.


Up on buckets. The first glaze step is coming up too light. A second application is needed.


A second glaze step gives the new wood an old look. A sealer has been added.


5/0 Conversion project is complete.

Monday, August 9, 2010

Stepback Cupboard, Pine/Poplar


Before and after....Pine/Poplar Stepback Cupboard. The finished piece has been hand rubbed to produce a warm glow and a silky smooth touch fitting for any grand setting.


Stripping by hand because the top board at the stepback is one board wide. Dipping process with water wash would be quicker but this board would have split. Above, the piece has been stripped, scraped clean, and sanded 150g then 180g.


While one door is being glazed, the others are hazing over as they dry. Each side is done and the glaze sealed as the surface drys. The two contrasting colors between coats of sealer sets off the wood grain, and adds depth and warmth to the piece.


Glazing process: glaze color on top of a full sealer coat over a NGR stain.


Beaded pine boards used for the back panel. They were stripped clean, sanded 180g, primed, painted, 3 coats of gloss finish, sanded 400g, final coat flat finish. This gives the painted areas the same furniture feel as the stained areas. All surfaces hand rubbed and polished.


Sanding between coats of finish.


After and before...Pine/Poplar Stepback Cupboard.