Tuesday, August 30, 2011

Antique Retro Enamel Top Dinette Table


A 'before' look at The Antique Retro Style Enamel Top Dinette Table.


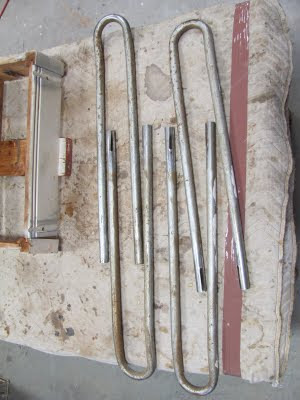
The metal legs had rust, old paint splatters, and grey spray paint.


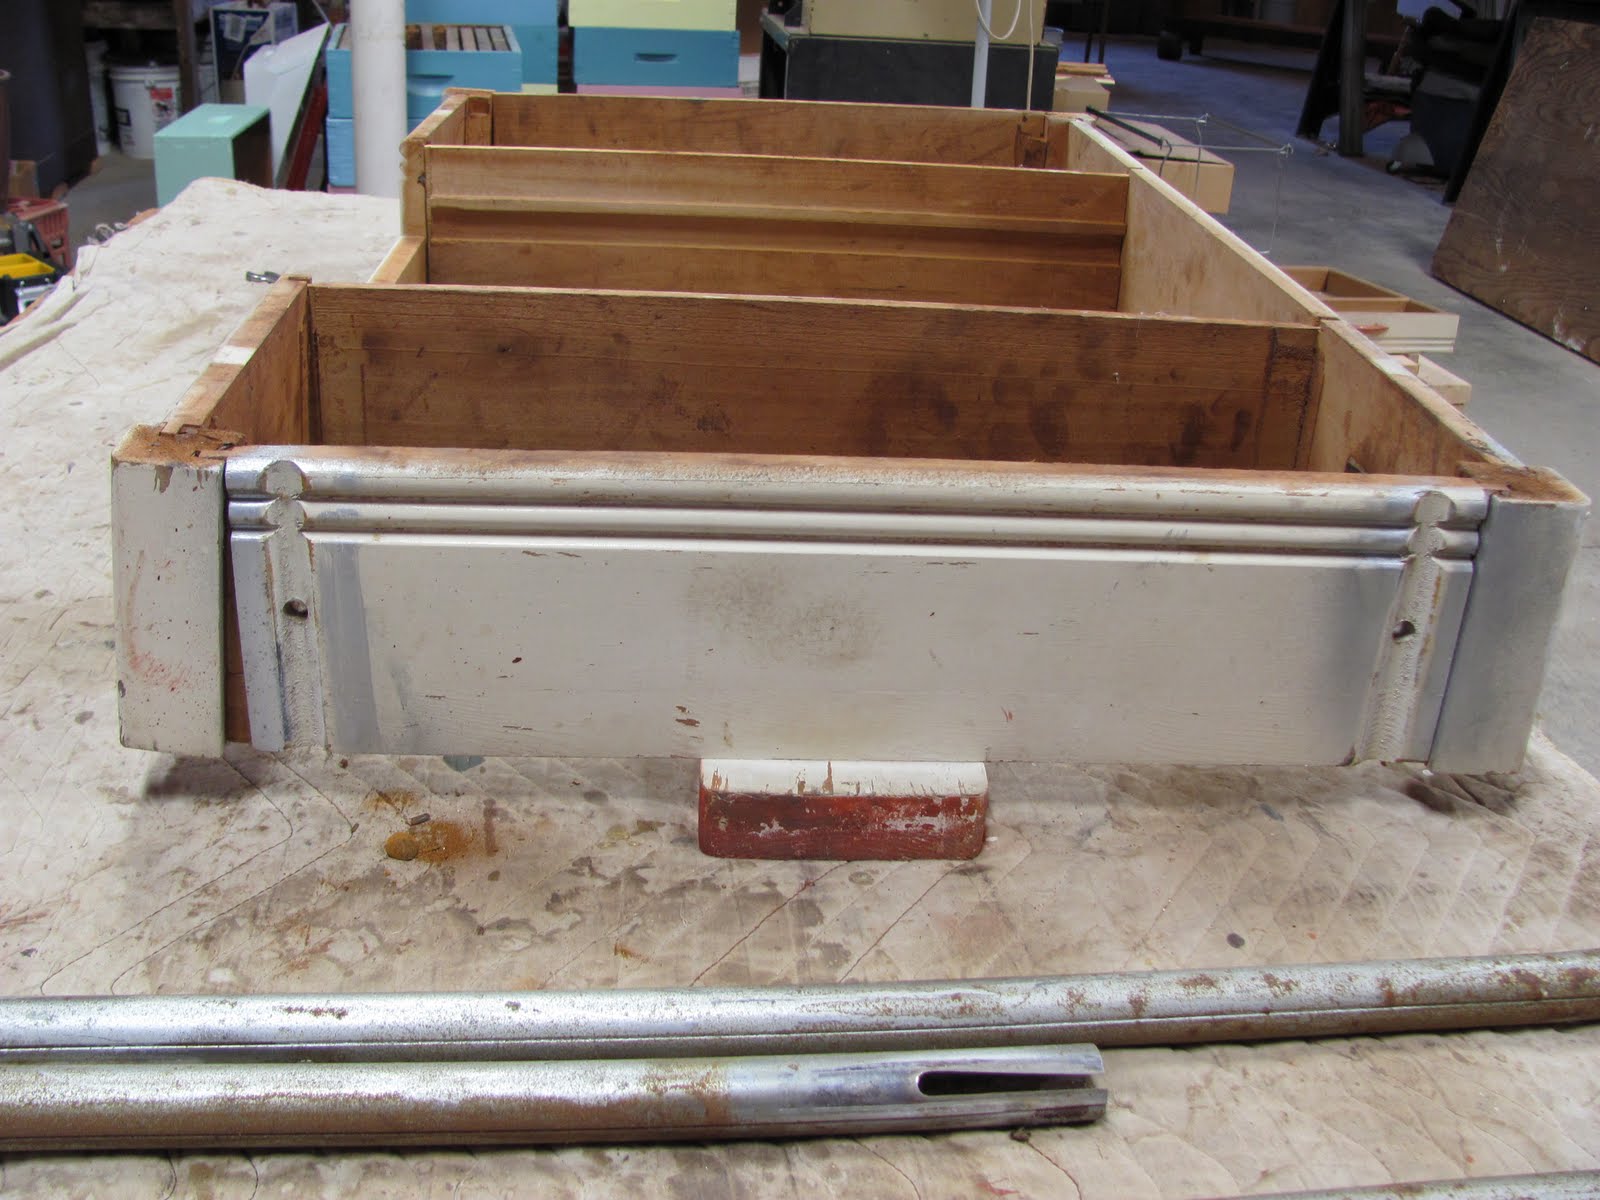
The wooden frame before work began.


Metal legs received 2 coats of chrome paint with a paper rub between coats to remove excess powder.


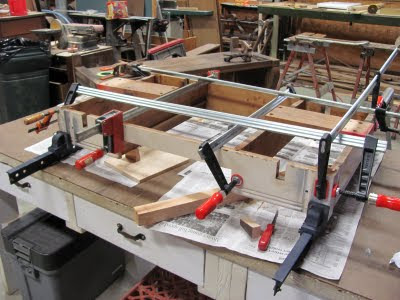
The wooden table frame in clamps. Metal leg in the back ground in between two flat top saw horses getting sanded for rust removal.


Re-coating legs with chrome powdered spray after hand sanding to remove rust.


The joints of the table frame have been re-glued with angle blocks. Many of the original blocks were missing.


Table frame is ready for assembly.


Metal legs are ready to be rubbed and buffed before assembly.


Legs attached to refinished frame.


Assembly of pull out leaves.


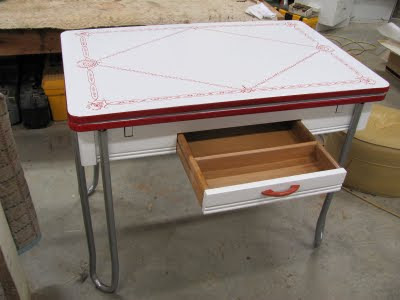
This lovely table is now ready to go home. It has a cornstalk and squash design in the red art work. My guess is late 40's or early 50's.
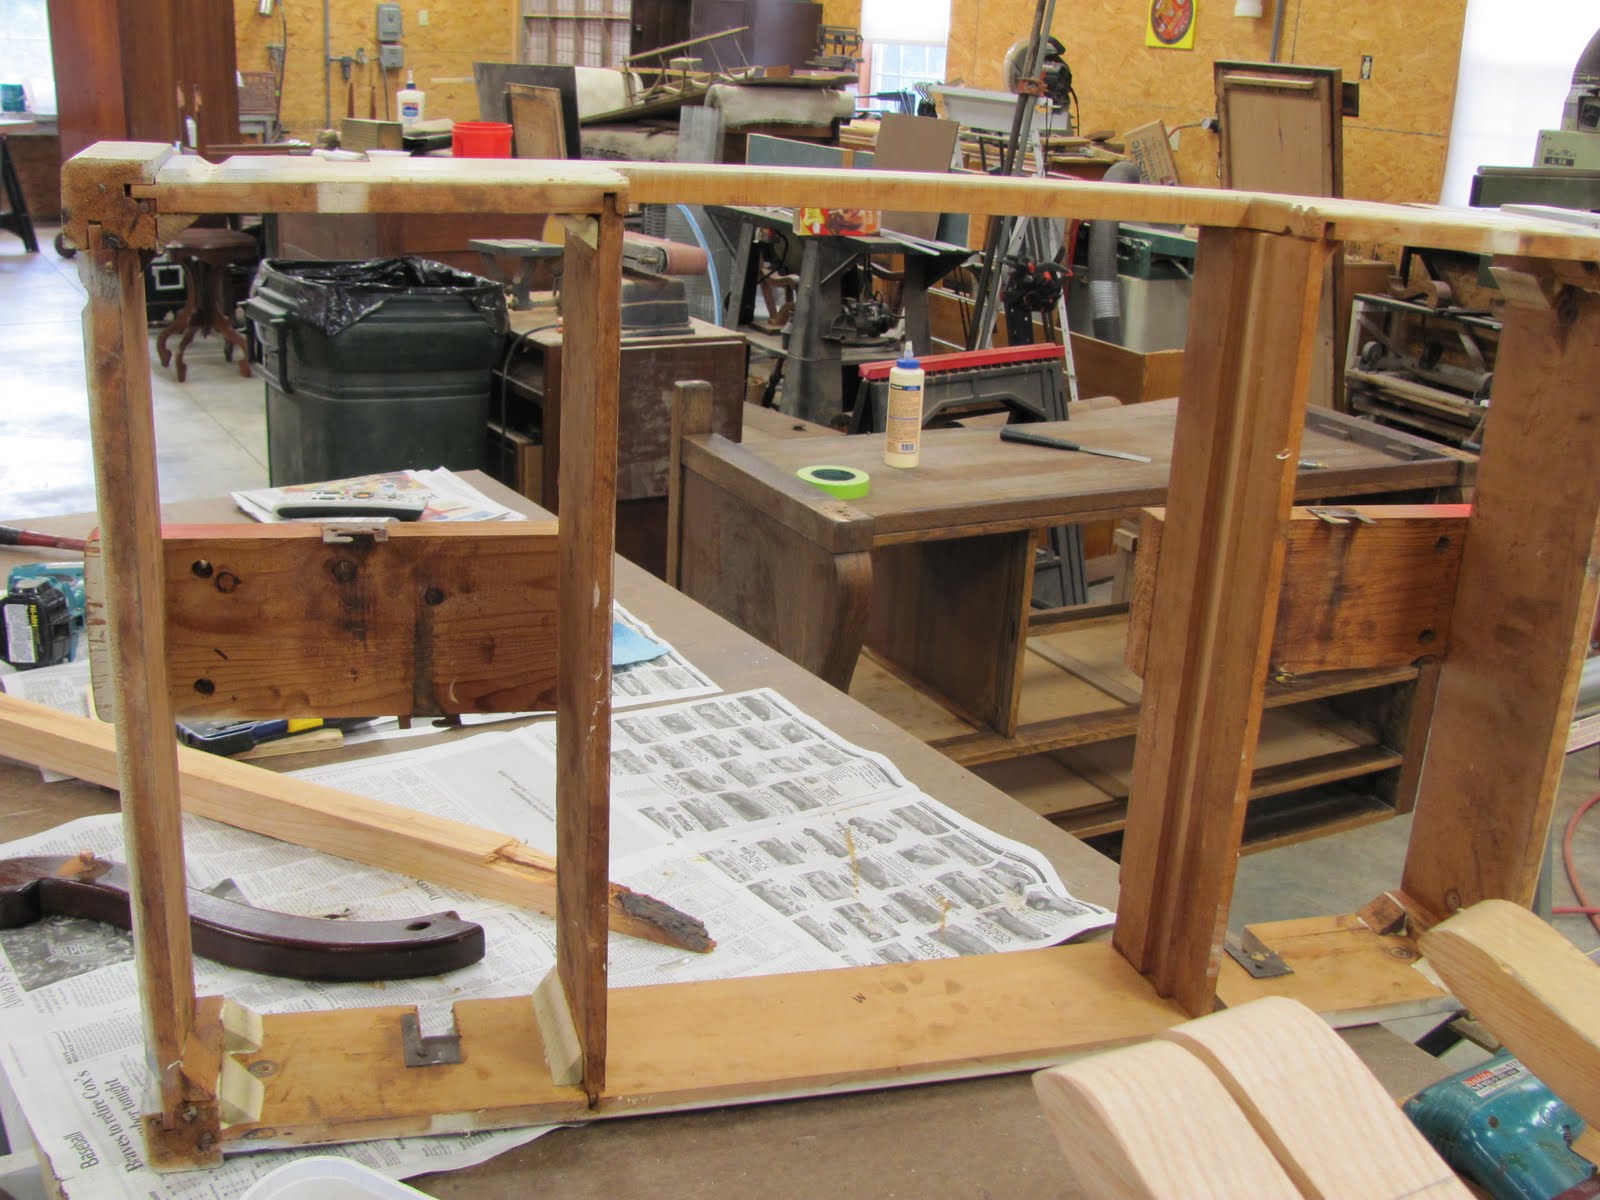


Saturday, August 13, 2011

Antique Wardrobe (Circa 1820)


Antique wardrobe (Circa 1820). Pieces and parts have been cleaned except one side panel.


Shelf arrangement for storage.


Shelf arrangement for flat screen TV and storage. Cable lines are run down through the back corner of the shelves and out the bottom...not through the back.


The shadow created by the large crown makes the top section look darker in the photo.

Monday, April 25, 2011

Wednesday, April 20, 2011

Baby Armoire for Nursery


The "Before" picture. This small armoire has been chosen to go into the new nursery.


After sanding, the pieces will need to be blown cleaned, and then wiped with dry tack cloth. I use a small micro-fiber cloth towel which can be washed.


Blue tape used to mask off the drawer fronts for color.


Pieces lined up after spraying.


Assembly process...cleaning hardware of old paint.


Drawer boxes; sanded and finished.


This is the "After" picture.

Friday, January 28, 2011

Mini Chest


This small 2 piece mini chest is suffering with loose and missing veneer.

Damaged veneer on the base stretcher.


Cleaning and removing loose mahogany veneer banding. There a pieces missing in the flame pattern.


The chipped out veneer on the stretchers has been repaired/replaced.


Little 2 piece mini chest with the veneer repaired.

Little table


All the old black finish has been removed along with the white moisture rings.

An old repair had to have some new treatment before the new finish is added.


This is a small table (candle stand) that is a mahogany veneer. Built by Brandt, Hagerstown, MD.

Wicker Plant Stand


I removed the old shelf that was split with the braid breaking off. The new shelf primed with white exterior latex primer.

Braid trim added to primed edges of shelf board.


A new shelf board with braid trim has been primed white and is ready to be return to the owner.

Thursday, January 27, 2011

Recliner /Broken Arm


Recliner with a broken frame in the right arm.

The right arm has been removed from the recliner frame.


Breaks at 3 joints.


The right arm reassembled.


The right arm has been assembled back on the recliner frame.


The chair is now ready to return to the customer.

Wednesday, January 12, 2011

Chairs


The broken off top back rail.


The broken off back rail is held in place over night while the epoxy resin glue drys.


The finish to the repair area on the top back rail is complete.


Walnut Victorian chair has been repaired, and is ready to be delivered.

Chairs


The top photo shows the chair with a piece of paper inserted into the crack.
Biscuits were used in the joint repair.


The top photo shows the split just before the clamps press the seat back together. In the 2nd photo, the white area shows the missing wood splinters after the seat was pressed together.


The finish work to the repaired seat is complete.


The repair work is complete, and the chair is ready to be delivered.